My Dactyl Manuform keyboard came without keycaps so I needed to acquire some. I could have bought keycaps, but 1) I’m indecisive and don’t know what profile or color/style I want and 2) what fun would buying be when I could make them? Armed with a Bambu Lab P1S with an AMS, lots of filament, and a sense of determination, I set out to produce some nice keycaps.
Printing usable, high-quality keycaps on an FDM/FFF 3D printer is very much possible. Despite what you may have heard, a resin printer is not required. However, there are some challenges and practicalities to keep in mind. Here’s what I learned about 3d printing keycaps.
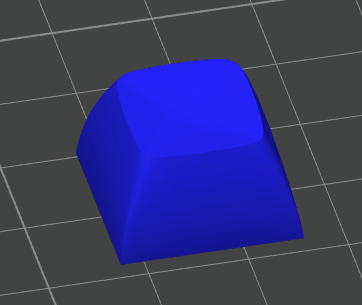
BLUF: 0.2mm nozzle-printed keycaps oriented at a 45-degree rotation produce an outstanding result, but they’re also the most trouble to print. I published models on Printables (High Quality Keycap Printed at a 45 Degree Angle) and Makerworld (“High Quality Keycap Printed at a 45 Degree Angle) to get you started printing great keycaps quickly.
Background on Types of Keycap Profiles
There are many different profiles with many different defining features. I’m not going to get too deep into the weeds as others have already done a great job covering keycap types. However, I need to touch on a bit of the basics with a focus on printability: sculpted vs unsculpted, shape, and height.
Sculpted vs Unsculpted
Sculpted keycaps have a different shape depending on where they are on the keyboard whereas unsculpted ones do not. For example, sculpted keycaps usually have taller keys for the “F” row. For “normal” keyboards, using sculpted keycaps results in a “well” that makes the keys more reachable and therefore more comfortable. However, the Dactyl Manuform is already concave and therefore has an inherent well, making the sculpted vs unsculpted decision much less clear.
A sculpted keycap profile can be used as if it were unsculpted by using the same row for all keys. Usually, that row is row 3. For example, you could use SA profile row 3 keycaps for all keys on the keyboard. That practice is called using a uniform profile.
When buying keycaps, using unsculpted or uniform keycaps makes buying keycaps much easier and less expensive as you don’t need to buy and combine multiple sets to cover the whole keyboard. Of course, that’s not a concern when the keycaps are being printed.
Shape
The sides of a keycap can be rounded, flat, or anything else. Since the sides aren’t touched while typing, that’s more or less an aesthetic concern. However, the keycap top is a very functional as well as aesthetic feature. Keep in mind that there’s a great deal of personal preference throughout the area of keycaps and there’s incredibly little objective science available on which to base any of these statements.
Flat
Flat keycaps are… flat. The flat top doesn’t cup the fingertips, though, which can cause mistyping due to it being easier than other shapes to easily hit multiple keys by accident.
The flat top of this shape of keycap facilitates printing because they can be printed face down on the print bed. That print orientation makes the keycap top smooth and the stem easier to print (due to eliminating concerns such as elephant foot).
Angled
Angled keycaps are similar to flat but with the top tilted. The angle makes it harder to accidentally press multiple keys in different rows but doesn’t address that problem for adjacent keys within the same row.
This shape can also be printed face down making them easy to print.
Concave
Concave keycaps are indented, most commonly with a spherical shape. The concave shape grabs the fingertip guiding it to the correct placement reducing the likelihood of pressing multiple keys by accident concurrently.
Concave keycaps can be challenging to print well. They cannot be printed face down as the concave shape would “flatten.” When printed face up, the layer lines become prominent; using a smaller nozzle (such as a 0.2 mm instead of the more common 0.4 mm) can at least partially mitigate that issue. Another orientation to consider is printing on the side, but that will result in the flattening of that side and loss of nice-looking curvature on it.
Convex
Convex keycaps bulge upward oftentimes with a spherical shape. Keycaps of this shape wouldn’t be used for all keys on a keyboard; instead, usually only the spacebar is convex if there are any convex keys at all.
The same concerns and solutions apply to the concave shape as the convex shape.
Height
Keycaps are roughly grouped into three heights: low, medium, and high. The benefit of lower height is that the key top is lower down closer to the desktop making it easier to correctly and ergonomically adjust the height of the keyboard to mitigate the potential for wrist trouble. On the other hand, the benefit of higher keycaps is that they can be more sculpted generating a deeper well resulting in less finger movement and therefore a more pleasant feel.
Height doesn’t have much impact on printability.
Generating Keycaps using KeyV2
I chose to use the KeyV2 library to render the keycaps as it can generate keycaps in several profiles, is open-source free software allowing me to study the code for understanding and modify it if necessary, and is fairly widely used (although unfortunately it is apparent no longer maintained).
I did many test prints before printing a whole keyboard’s worth of keys. I’m glad I did as I gathered several important takeaways from these experiments.
Tools Used
- Bambu Labs P1S with AMS
- Bambu Textured PEI Plate
- Bambu Studio version 1.7.7.89
- Bambu Basic PLA in Orange
- https://github.com/rsheldiii/KeyV2
- OpenSCAD 2023.08.29
Printing in the Stem Down Orientation
Printing stem down has many advantages, including being relatively easy to print, allowing for a curved surface on the top of the keycap, and requiring relatively few filament changes to print colored legends.
Stem Down Orientation Key Takeaways
- Silk PLA printed stems are weak and easy to break when inserting and removing keycaps. Regular PLA has no such problems.
rounded_cherryis the best stem. It prints well and fits in all key switches.flared_support,bar_support, andflat_supportall seem to work well and are all printable. I usedbar_supportas most commercially available keycaps do and I wanted to produce keycaps that looked similar to them.- Stem support is more or less required. Without it, the stem prints correctly and is usable only about 75% of the time; the rest of the time, the stem may be rotated, won’t fit, or will fall off entirely during printing turning into spaghetti. I found tined support (
tined_stem_support()) to work great and it’s easy to remove. - Even with stem support, failures still happen sometimes, so an inner and an outer brim is still a must. You may get lucky, but to get reliable working keycaps every time, brim and stem supports are required.
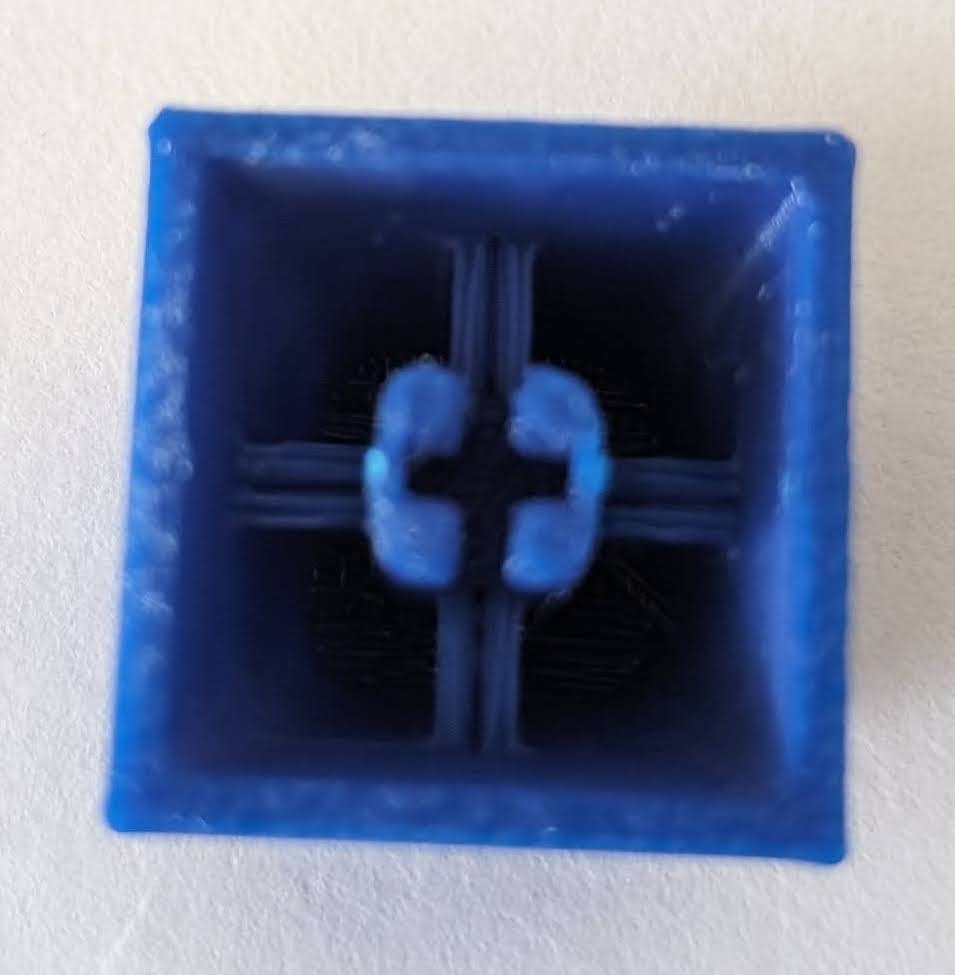
box_cherry stem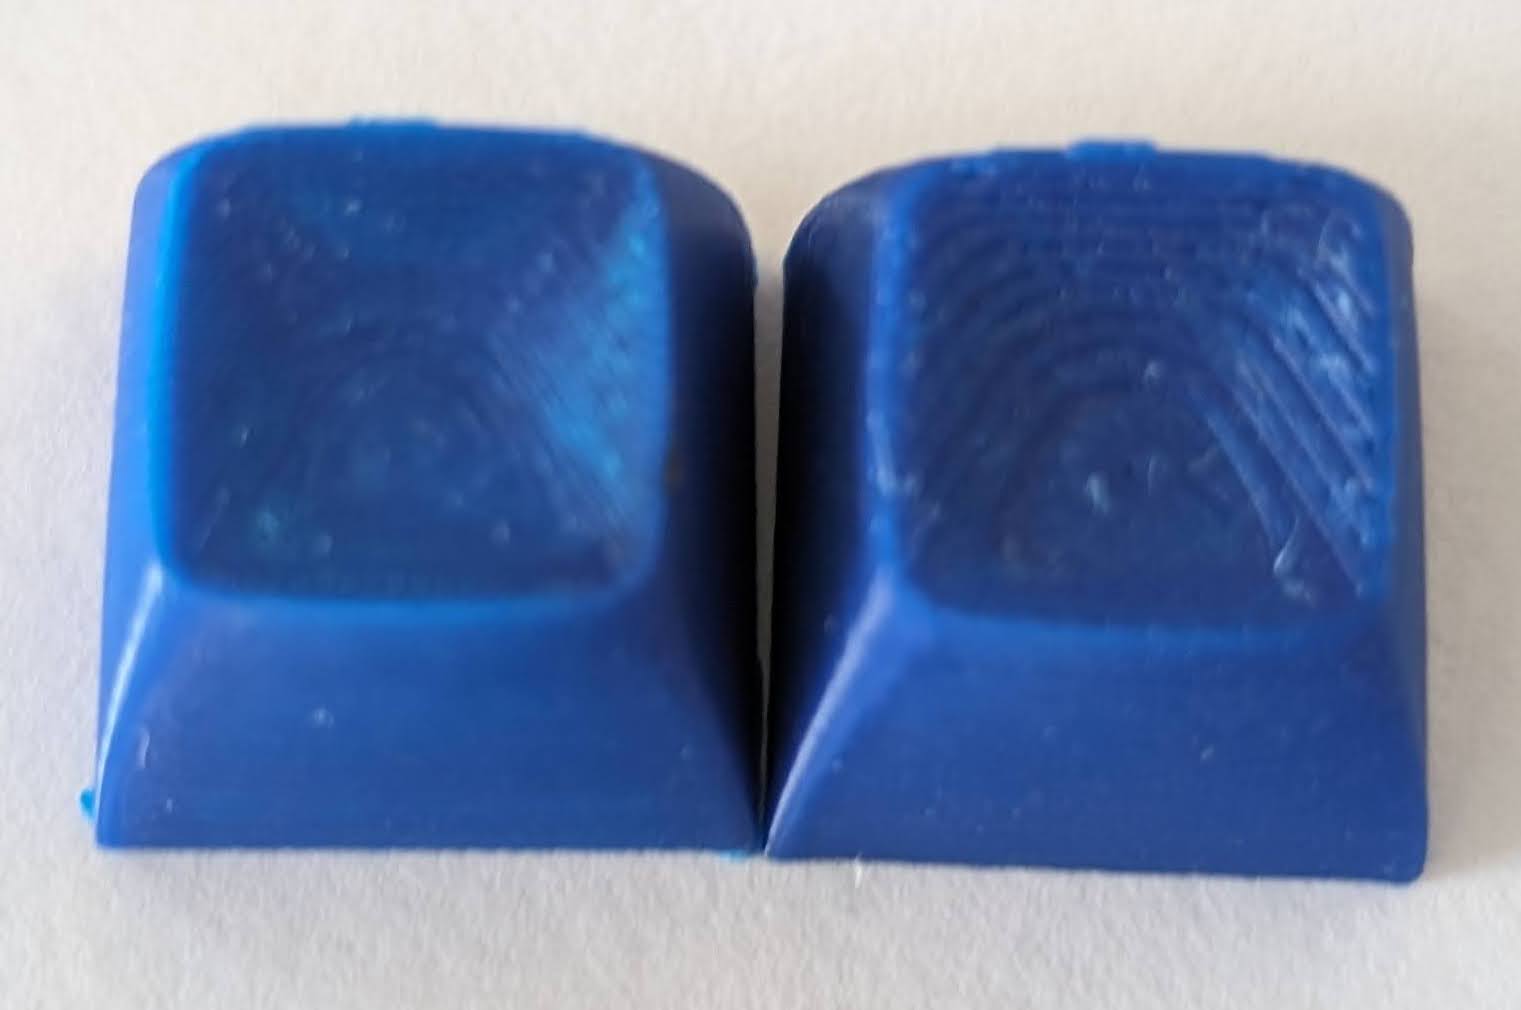
0.2mm Nozzle Specific Takeaways
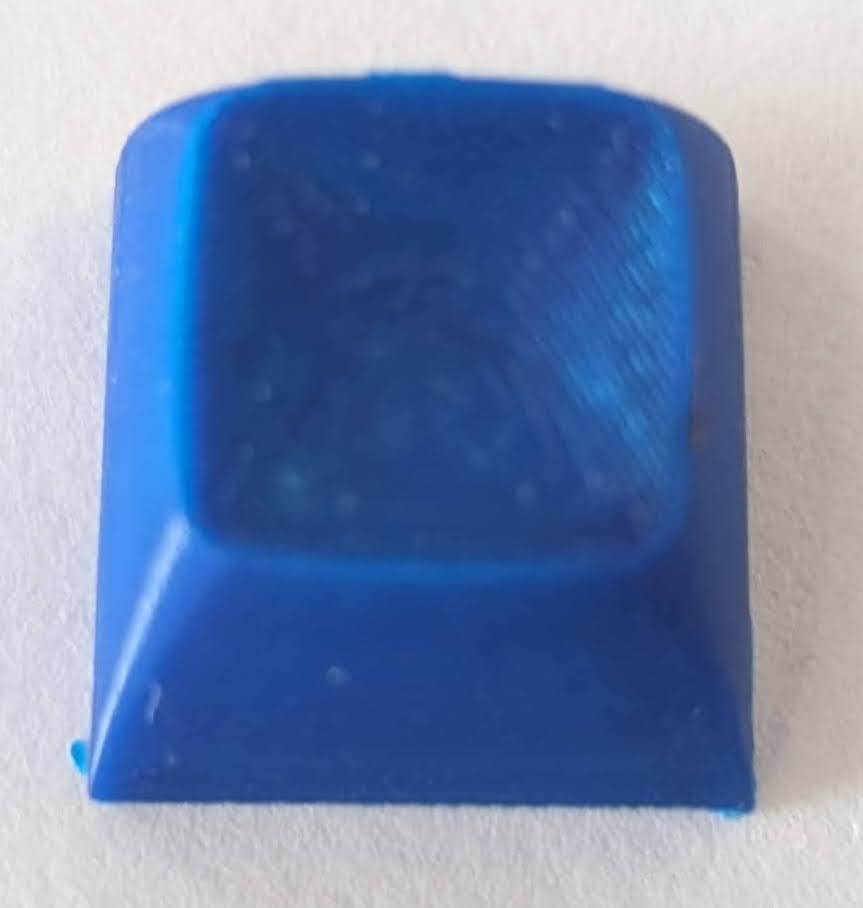
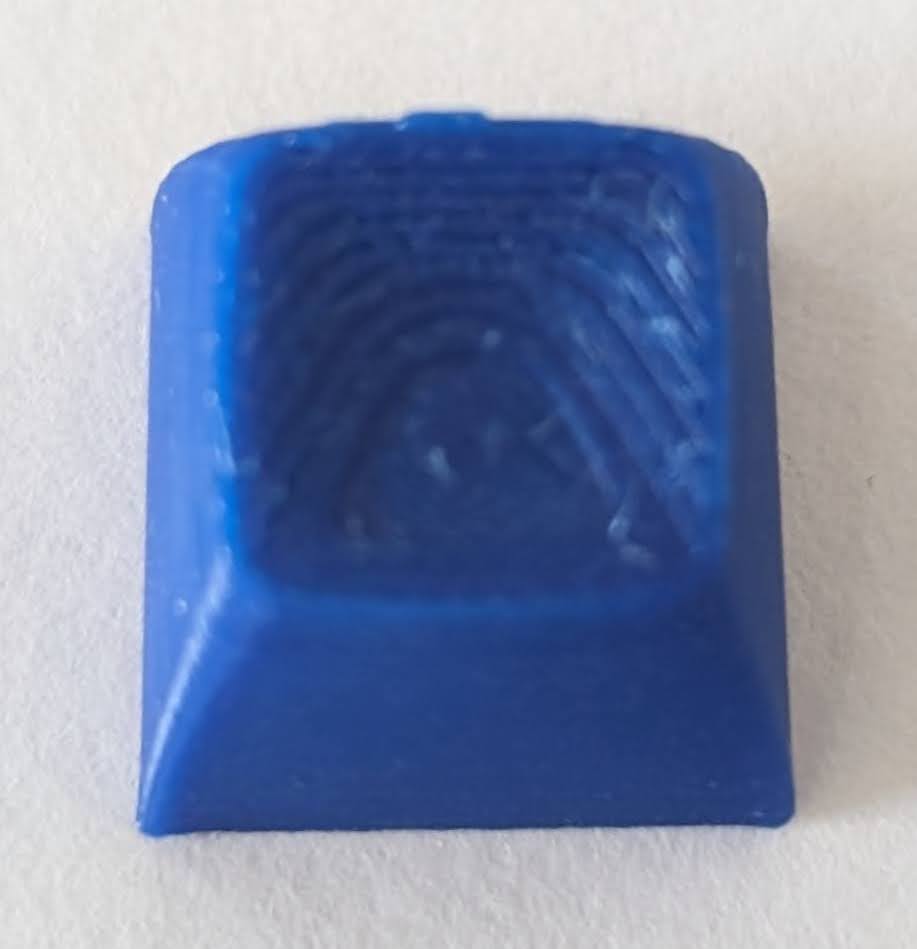
- The 0.2mm nozzle produces nice feeling, good-looking concave/convex keys.
- The texture is visible, but I couldn’t feel it.
- The default slop of 0.3 worked okay, but 0.25 worked better. Any slop greater than 0.3 produced keycaps that fell off the switch. Any less than 0.20 and the key would get stuck or not stay on the switch.
0.4mm Nozzle Specific Takeaways
- The 0.4mm nozzle produces great flat keys and decent, usable concave/convex keys. I am using some 0.4mm nozzle-printed convex keys and they have a bit of a rough texture, which I kind of like.
- The texture is visible and can be felt. You may like the rough feeling – I initially didn’t, but it really grew on me.
- Slop greater than the default of 0.3 is required. I found 0.45 (ex
rounded_cherry(0.45)) produced the best result that fit on both my Halo True and Kaihl Box White switches. With the default slop of 0.3, maybe 10% of printed keycaps would fit on the switch correctly. The rest either were too tight and wouldn’t fit at all, or would seem to fit but the key would say stuck down when pressed. Be careful though – too much slop and the keycap won’t stay on the switch.
My Keyboard with 0.4mm Nozzle Printed DSA Keycaps with Legends
I chose DSA as it’s an unsculpted profile (meaning I could move keys around, especially handy while testing different settings and colors) and it’s popular for Dactyl keyboards. I couldn’t decide which colors I wanted to use, so I experimented by printing a variety of colors but used black on white for the alphanumeric keys. I used the 0.4mm nozzle to reduce print time.
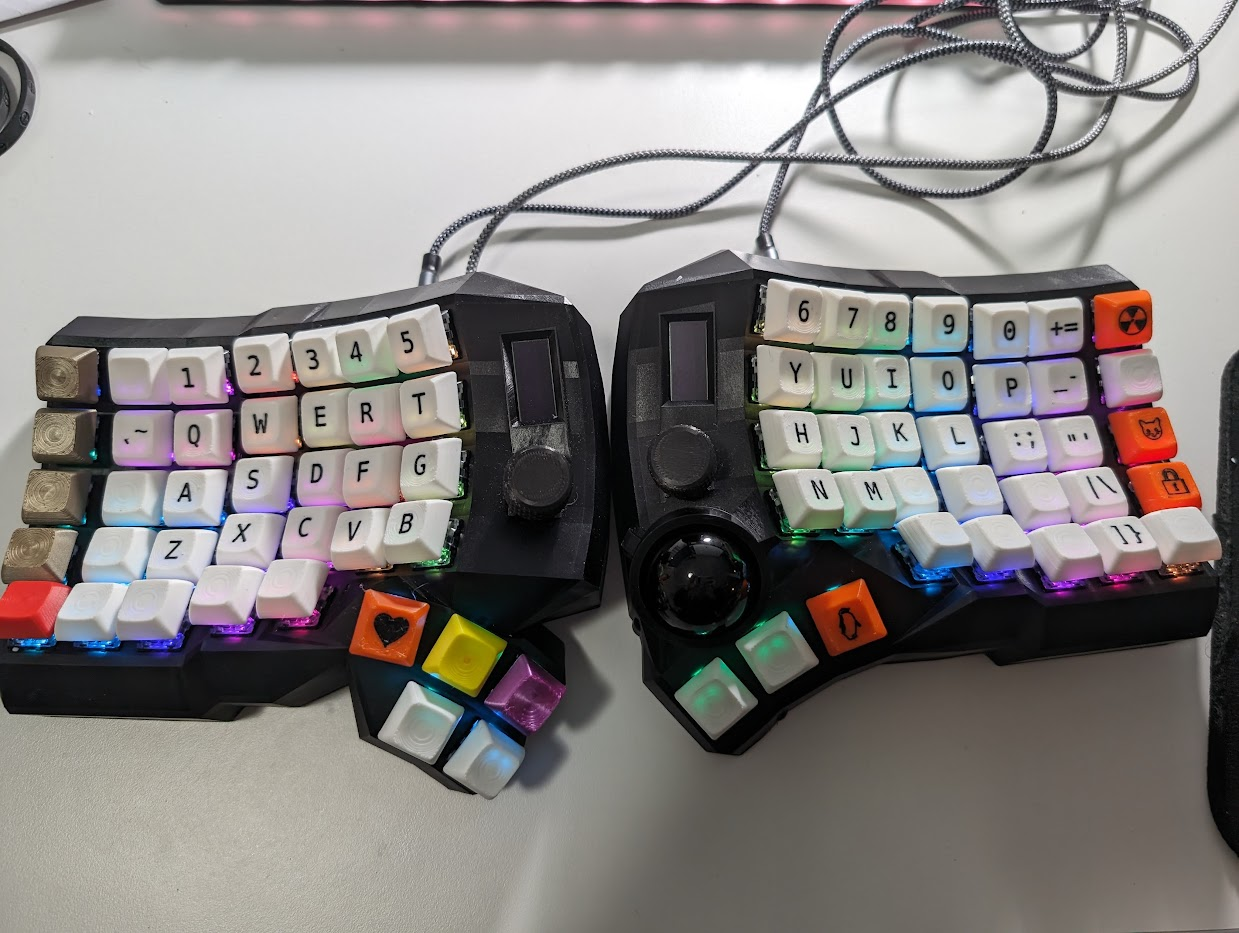
I like how this effort came out. The keys have a bit of a rough texture which I’ve started to like. Aesthetically, I think it’s a bit chaotic (due to my indecisiveness for colors) but quite interesting too – you can tell this isn’t a typical, off-the-shelf boring setup!
I printed these keys in batches; here’s the OpenSCAD code I used to generate one batch:
include <./includes.scad>

legends = ["0", "1", "2", "3", "4", "5", "6", "7", "8", "9"];

for (x = [0:1:3]) {
  for (y = [0:1:3]) {
    bar_support() rounded_cherry(0.45) tined_stem_support() translate_u(x,y) legend(legends[y*4+x])   dsa_row() {
      // swap the debug()s to render     opposite part
      debug() key(true);
      /* debug() */ dished() {
        legends($inset_legend_depth);
      }
    }
  }
}
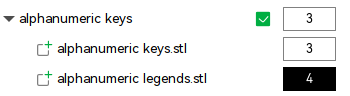
By swapping the debug comments (a process documented in KeyV2’s examples), I did two renders (one for the legends and one for the keycaps) and exported each as an STL. I then imported the STLs together into Bambu Studio, which allows for a different color to be used for the legend object as for the keycaps object.

My Keyboard with 0.2mm Nozzle Printed MT3 Keycaps without Legends
I next wanted to try a sculpted profile which I hope would create a very comfortable, deep well. The SA profile is popular amongst the Dactyl community for this reason, so I considered that profile. However, I also heard some really good things about the MT3 profile so I decided to give it a try.
Again, I couldn’t decide on a color scheme, so rainbow it is!

With the more pronounced curvature of MT3 compared to DSA, I decided to use the 0.2mm nozzle. Therefore, these keys took days to print.
OpenSCAD code to generate one column of keycaps:
include <./includes.scad>

// use slop if not using a 0.2mm nozzle!
bar_support() rounded_cherry() row_profile("mt3") tined_stem_support() {
    key(true);
}
MT3 homing keys have a deep dish:
include <./includes.scad>

// use slop if not using a 0.2mm nozzle!
bar_support() rounded_cherry() mt3_row(row=3, deep_dish=true) tined_stem_support() {
    key(true);
}
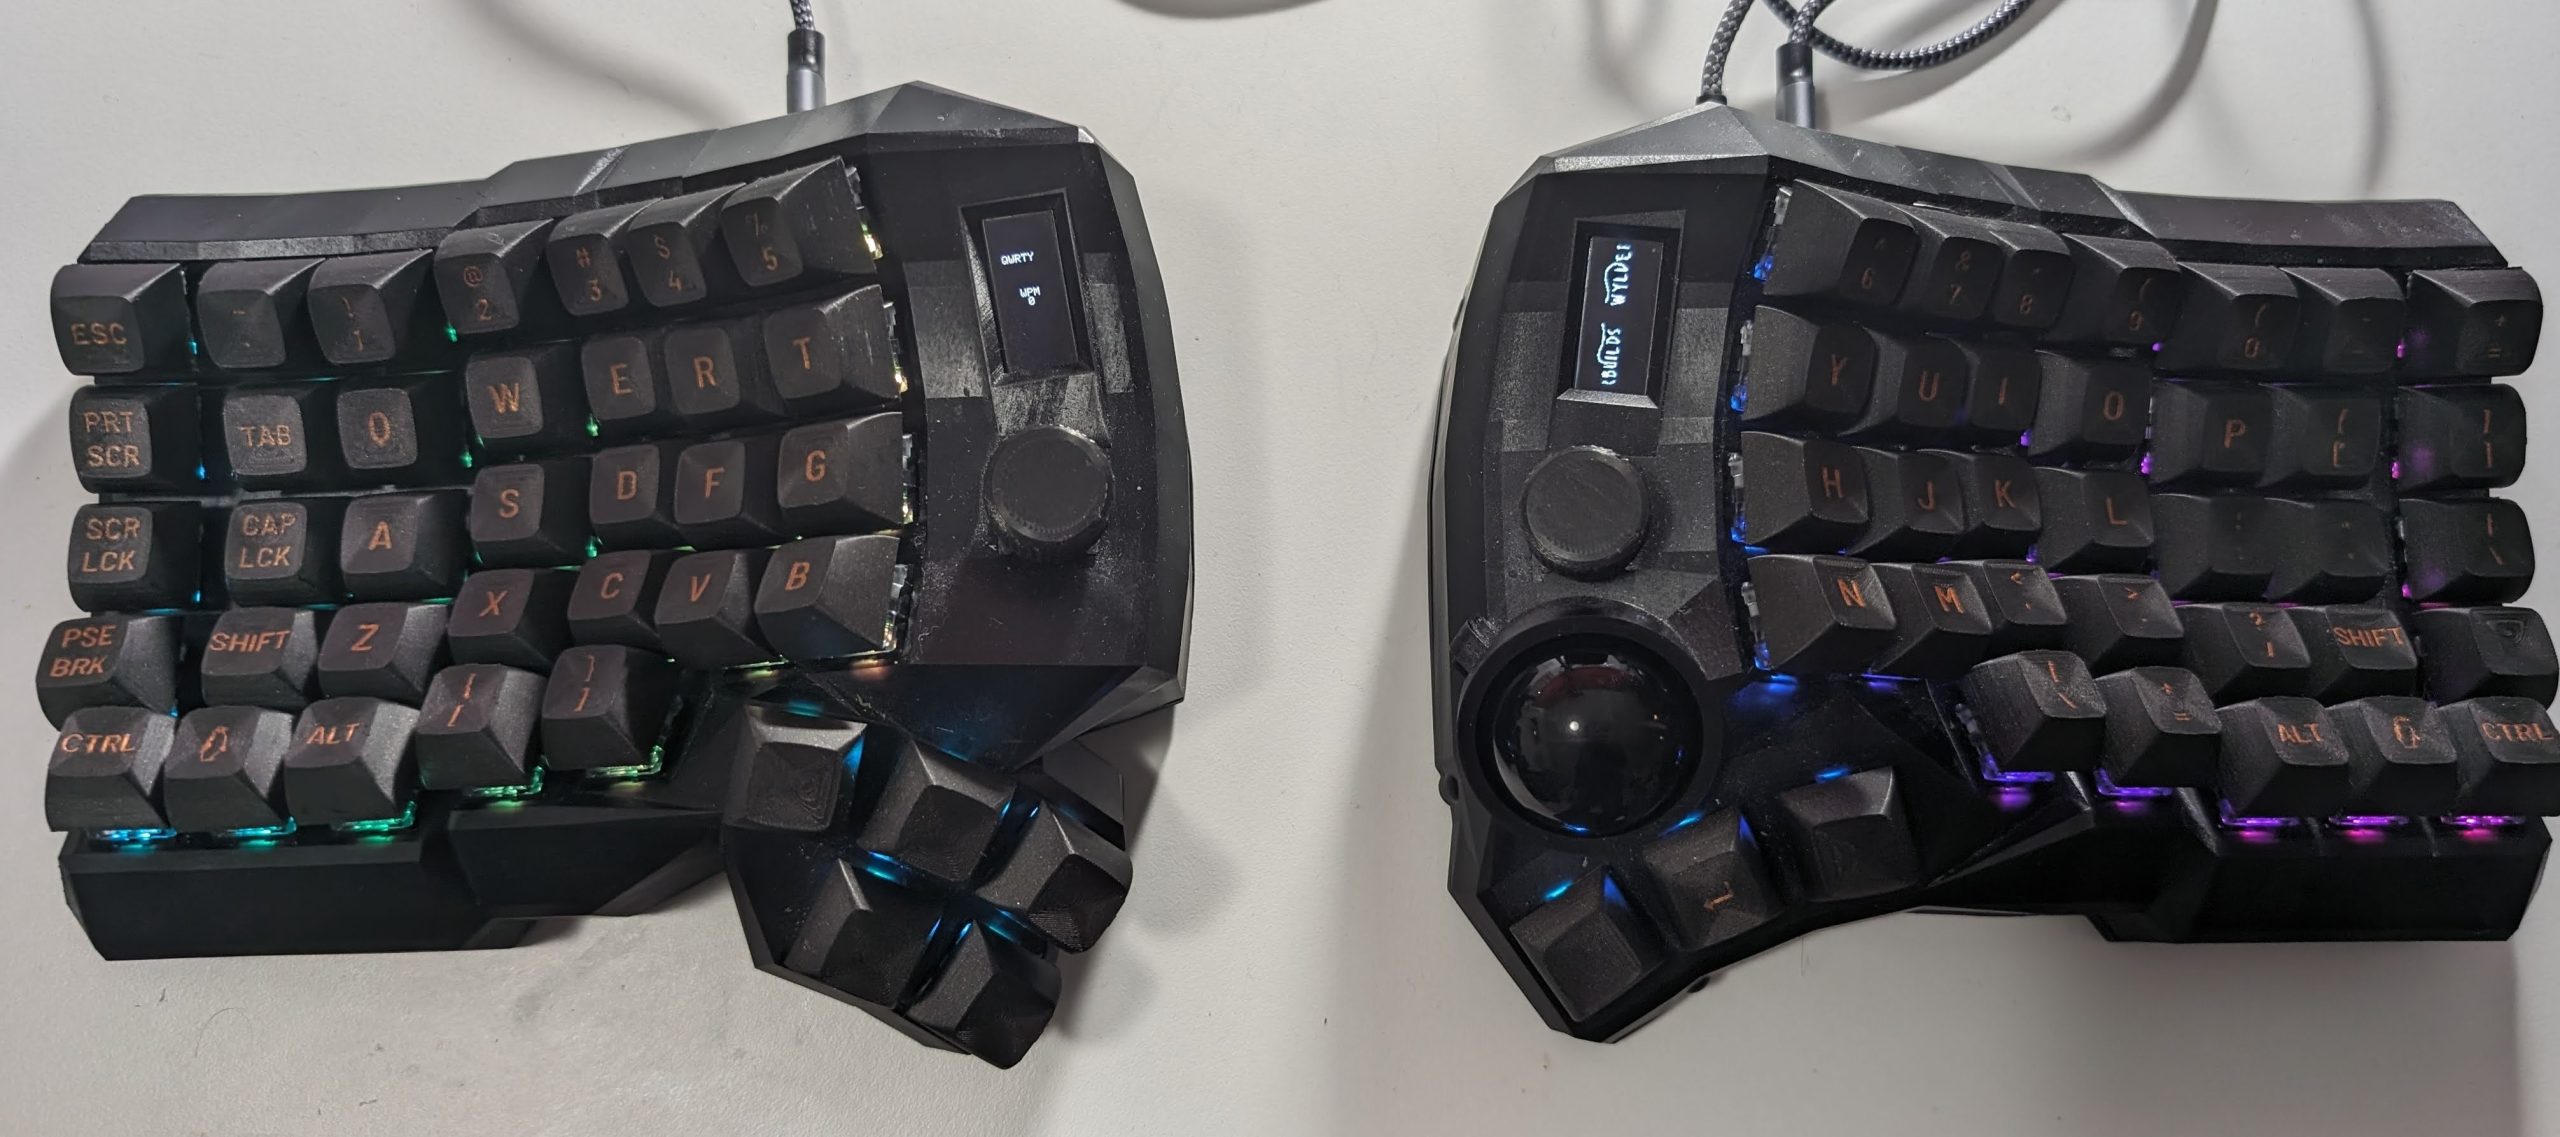
My Keyboard with 0.2mm Nozzle Printed MT3 Keycaps with Legends
I wanted something a bit less crazy so I tried a copper-on-black look – I like how it came out.
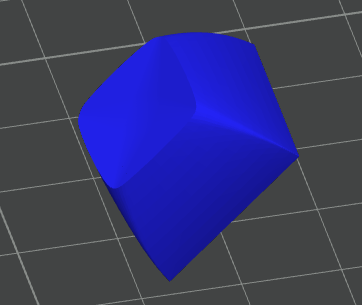
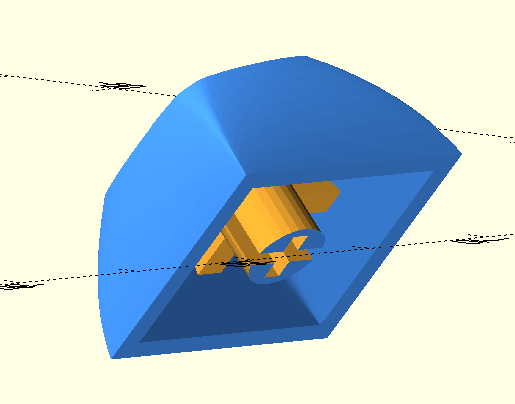
Printing in the 45 Degree Angle Orientation
The 45-degree rotated orientation is harder to print (as there’s only a tiny bit of the keycap touching the built plate), requires support (it produces waste and the support can be annoying to remove), and requires a lot more filament changes to print colored legends. So why use this orientation?
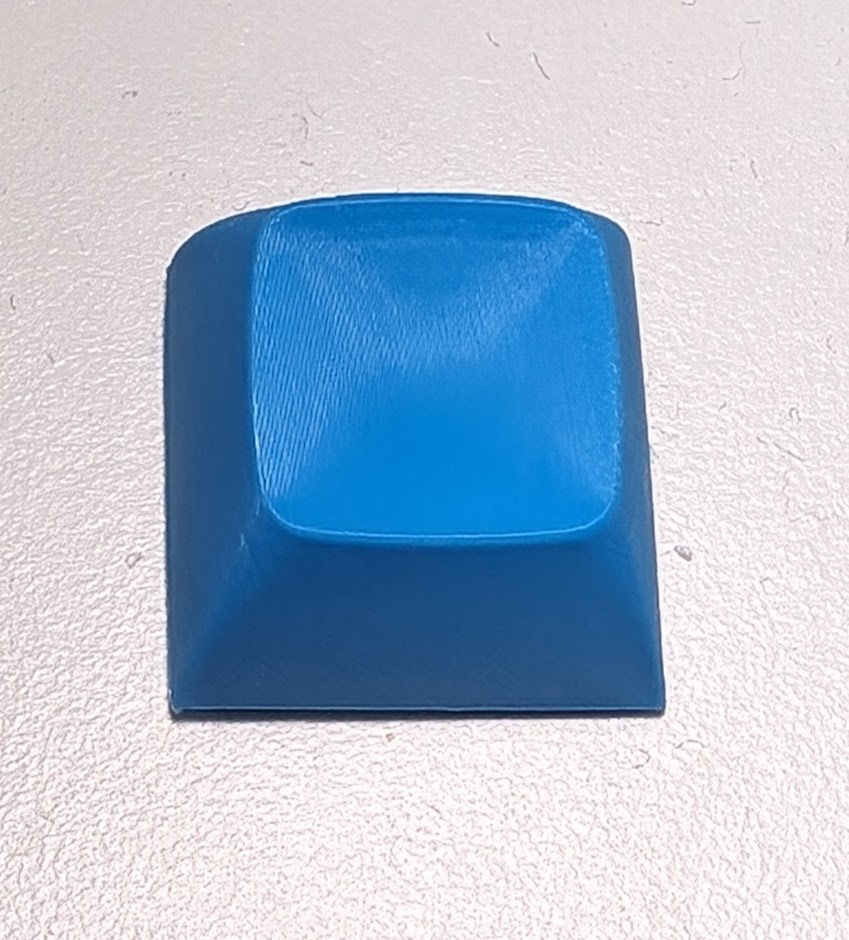
The 45-degree angle orientation produces a much higher quality keycap top surface. With this orientation, the concave keycap top is smooth without visible (well, only visible with a bright light and very close look) or feelable layer lines, especially when using a 0.2mm nozzle. If you can reliably print keycaps in this orientation, are okay with the extra effort to remove supports, and are fine with wasting a lot more filament if printing legends, this orientation provides a much more professional-looking, high-quality finish.
45 Degree Angle Orientation Key Takeaways
Many of the same takeaways from the stem-down orientation still apply:
- This orientation produces stronger stems, but Silk PLA still produces questionable stems.
- rounded_cherry is still the best stem.
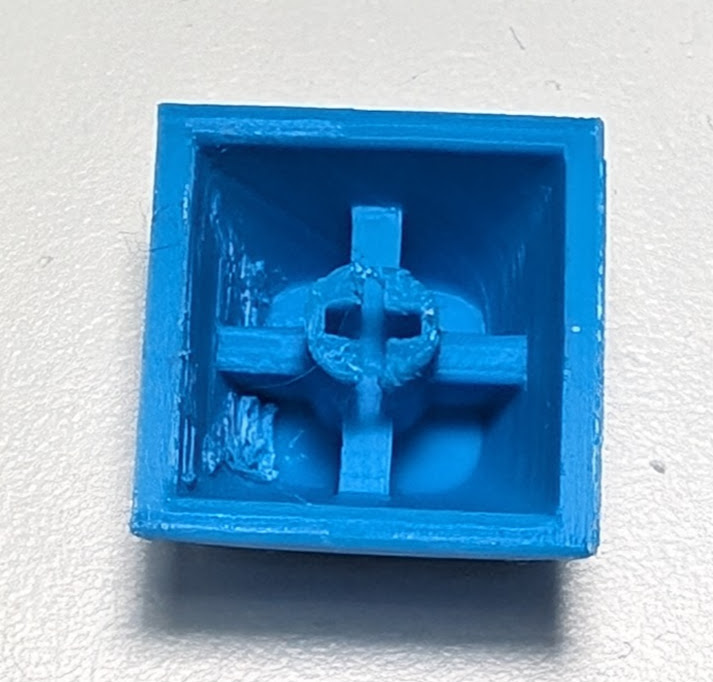
$stem_inner_slop = 0.0;must be set or the stem won’t fit on the switch.$cherry_bevel = false;must be set or the stem will either fail to print entirely producing spaghetti or it will be malformed at the bottom.- Stem support must not be used, so include
no_stem_support(). Any stem support will result in the stem failing to print producing spaghetti. - The stem must have a solid part on the bottom. In other words, the slit that goes through the stem must be horizontal. Otherwise, there will be nothing for the support to hold, and the stem will fail to print likely resulting in spaghetti.
- In the slicer, the print must be slowed down and adhesion settings must be provided so the key doesn’t fall off or wobble as it is printed. Here are the settings I changed for my 0.2mm nozzle print:
- 0.08mm layer height
- Initial Layer Height increased to 0.16mm
- Initial Layer increased to 0.3mm
- Inner wall speed reduced to 60mm/s
- Sparse infill speed reduced to 60mm/s
- Internal solid infill speed reduced to 60mm/s
- Support speed reduced to 60mm/s
- Support interface speed reduced to 25mm/s
- Brim-object gap increased to 0.04mm
I uploaded the model to Printables (High Quality Keycap Printed at a 45 Degree Angle) and Makerworld (“High Quality Keycap Printed at a 45 Degree Angle) to help others reproduce my results and create high-quality keycaps of their own.
OpenSCAD to produce a 45-degree rotated key:
include <./includes.scad>

$stem_inner_slop = 0.0;
$cherry_bevel = false;

bar_support() rounded_cherry() row_profile("mt3") no_stem_support() rotate([0,45,0]) {
    key(true);
}
What’s Next?
I may try another profile (DES looks interesting). Or, maybe I’ll print another whole keyboard of 45-degree printed keycaps with legends in a new color scheme…
Another idea is to try printing the keycaps rotated at 45 degrees. This orientation requires support, brim, and a lot of luck due to the very small contact surface the keycap would have the build plate, but the advantage would be that the keycap’s top should have a smooth curve without layer lines.
Any suggestions?
If you’ve printed keycaps, please share your experience and learnings! I’m eager to continuously improve as I iterate on keycaps.
![]() 3D Printing High Quality Keycaps by Craig Andrews is licensed under a Creative Commons Attribution-ShareAlike 4.0 International License.
3D Printing High Quality Keycaps by Craig Andrews is licensed under a Creative Commons Attribution-ShareAlike 4.0 International License.
Thanks for putting this up, I’m working on a related-ish project. Bought a bunch of MT3 Black Speech keycaps on Drop, which work great on a Keychron V6 and a Keychron C3 Pro, but my main keyboard is a System76 Launch Heavy, which comes stock with XDA (flat low profile) keycaps, which don’t work well for me. I’m currently printing some of Matt3o’s R0 MT3s as an experiment, and may scan and print the other sculpts as well.
Anyways, the thing I wanted to offer up: Your Bambu P1S should be able to handle ABS/ASA easily. In addition to being a bit stronger than your PLA, it allows for acetone smoothing. This would let you get the nice glassy finish and zero layer lines, and if you want a more rough/pebbled top surface, there are a lot of ways to get that. I personally plan to print ABS, fully acetone vapor smooth to a gloss/glass finish, and then use more acetone vapor and a piece of scrap denim to get the ever-so-slight texture to the top that I want. Thanks again and good luck!